How-To Tuesday: How to tailor a shirt
/Welcome to the very first installment of what I hope will be a long series of highly informative, entertaining, or just plain silly posts on our How-To Tuesdays.
[I know it's Monday. I wanted to get it up early to give you all a chance to link up. And make sure I did Mr. Linky right.]
Today I am going to share with you a little secret that tailors everywhere do not want you to know: How to tailor your own shirt.
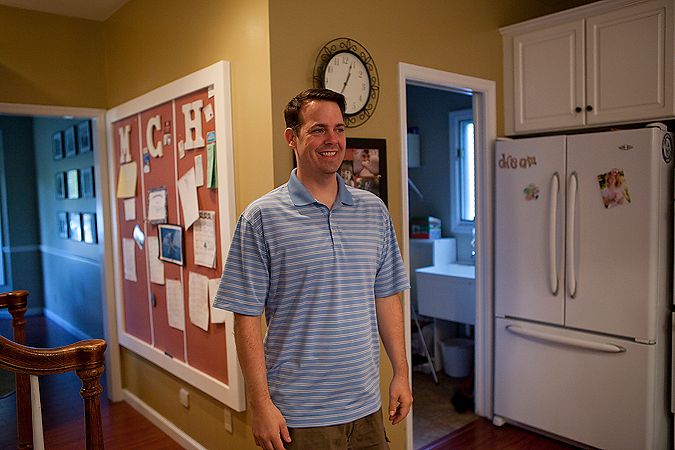
You see, last year, the Husband decided one morning that he wanted to get in shape. All he pretty much had to do was decide that and 20 pounds fell off his body.
I tried really hard not to hate him for it.
Being the frugal man that he is, he did not want to run out and buy all new shirts. We figured we could tailor the ones he wanted to keep, and buy some new ones, as well. So we researched how to do it, purchased a sewing machine, and made the greatest discovery ever. This is so easy, it's ridiculous.
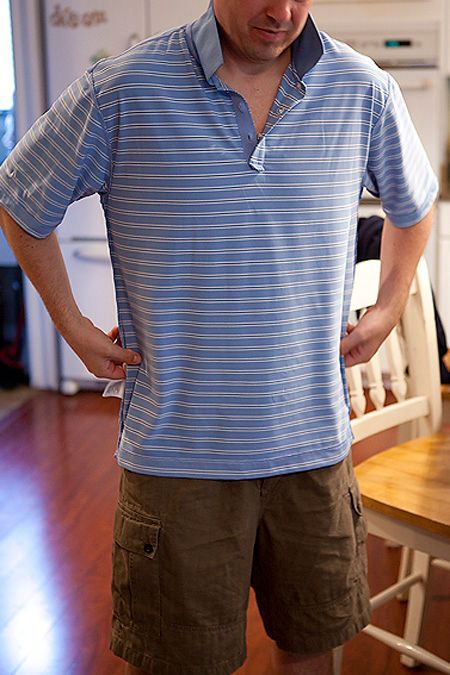
Start with the shirt you want to take in. Put it on inside-out.
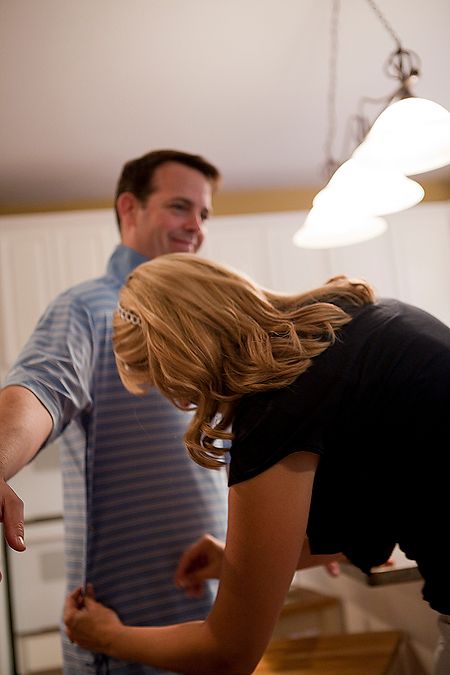
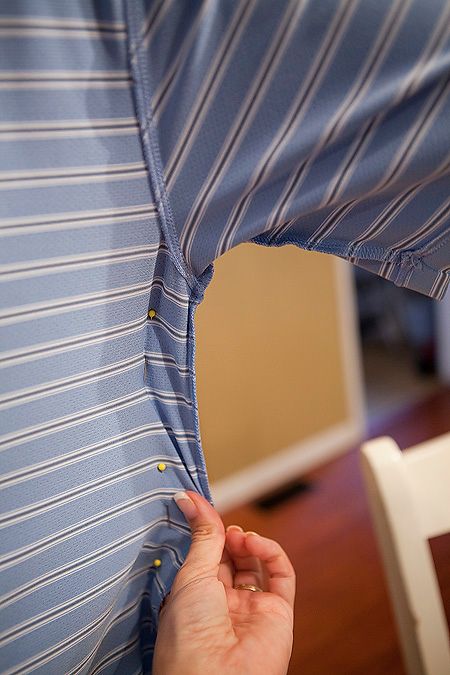
Pull the fabric to your desired fit, and start pinning. You need to pin both seams on the sides - going all the way up the length of the shirt.
In order to avoid any bunching, you need to make a continuous seam from the sides to the sleeves. If you are not taking in the sleeves at all, just sew up around the armpit and taper off until you meet the existing arm seam. If you are taking your sleeves in, keep pinning to the end of the sleeve.
Carefully remove the inside-out/newly pinned shirt from your model, being careful to not scratch his face with the pins.
Because when you do that? He doesn't like it. At all. And WILL complain loudly.
[Cough*wuss*cough.]
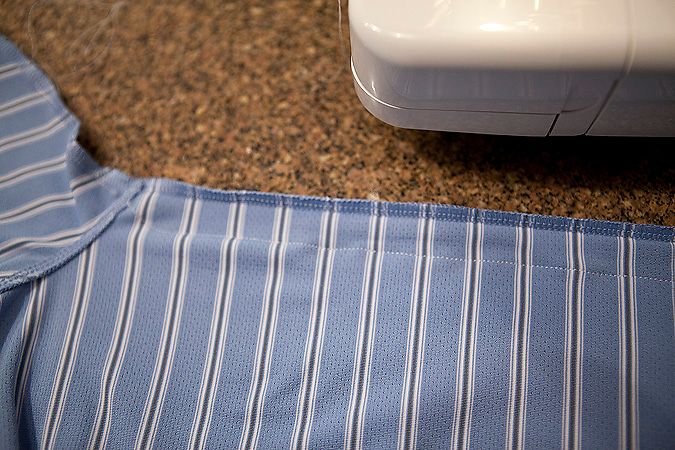
Then sew a straight line from the bottom of the shirt up to the sleeves, again, tapering off as necessary. Because he didn't want to take the sleeves in (you know, to accomodate those large, manly biceps), I simply tapered my seam until it met the existing arm seam.
Before cutting off the excess fabric, try the shirt on (right side out this time) to make sure it is a good fit. If you need to take it in a little more, you can. If you took it in too much, you can unpick the seams and start again.
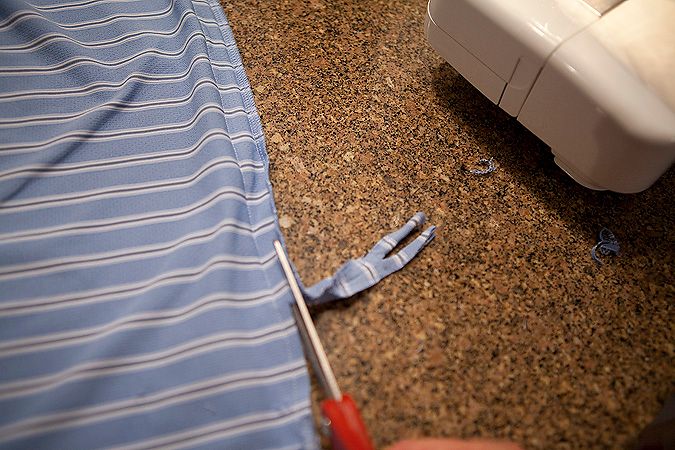
Then carefully, OH SO CAREFULLY, cut off your excess fabric.
Be sure your shirt is not bunched up underneath, or you will cut a large hole in the shirt. And it might happen to be the expensive dress shirt that was your husband's favorite. The one he loved more than all the other shirts. And there will be no repairing it. And you will feel terribly guilty. And he will feel terribly sad.
Not that I'd know anything about that, ahem.
JUST. BE. CAREFUL.
And that's it! Takes less than 10 minutes to do, and saves you oodles of money at the tailor. Which then leaves more money for shoes. Yay!
It works great for women's shirts, too.
Especially if you happen to be smaller-waisted and larger-chested like me. In order to find shirts to fit me in the chest, they are often baggy and big at the waist. Drives me insane.
Enter the self-tailoring.
I bought this tank top at Ann Taylor Loft and fell in love with the ruffly flowers and beading. See? Look how adorable:
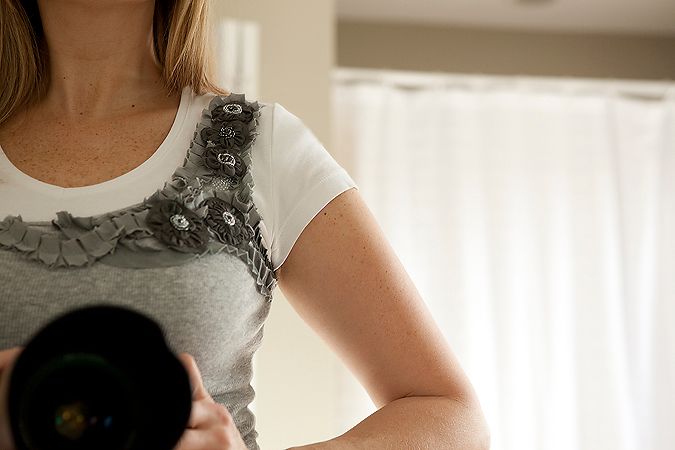
Only problem was, all they had left on the rack was a size L, which was too big for me. Rather than walking away from the store in despair, I bought it, knowing how easy it would be to tailor the shirt myself.
Here is the before:
Here is the before:
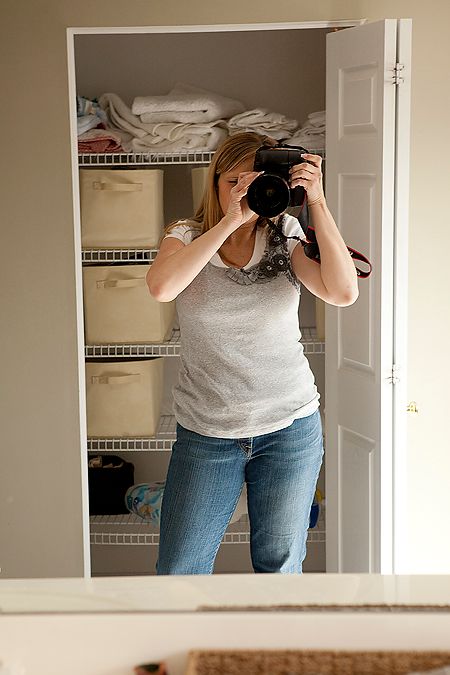
Notice how baggy the fabric is at the waist (and chest). Not a good fit. Made me look larger than I actually am - something I avoid like the plague.
And here is the after:
And here is the after:
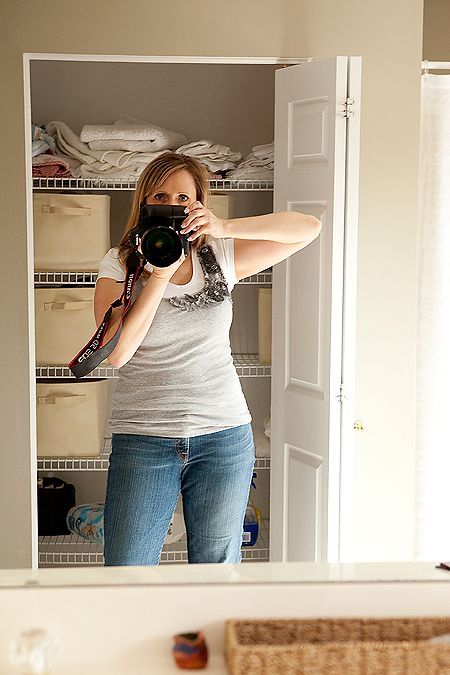
So much better, right?
I do this now to any shirt that doesn't fit well. If I find something I love on the rack in a store, that maybe is too big in some spots, I buy it anyway, take it home, and fix it right up. Works like a charm.
Now it's your turn. What can you teach me how to do? Type the link to your post in our Mr. Linky here, grab a button from my sidebar, and play along. We all have something we can do. Let's share it.


