Spider Web Cookies, reborn
/Several years ago (eight to be exact), I posted about my spider web cookies. I have spent the last 22 years or so making these, and have improved upon the original instruction in the last few years. Figured now was as good a time as any to reblog them.
While they will never look as perfect as decorated cookies made with royal icing, they taste a whole lot better. Royal icing to me just ruins a perfectly good sugar cookie. It's easier to work with than this glaze, and you can absolutely produce gorgeous pieces of art. But they taste like styrofoam. So why bother? If I wanted to eat styrofoam, I'd do that. And I'd definitely be a lot thinner. But my life would not be worth living.
So. Let's begin, shall we? The key to any cookie success is in using the right sugar cookie recipe. I use Aunt Betty's, and have finally received her consent to share it with you.
Internet, here is the secret recipe:
Before you judge too harshly, just know that they are pretty freaking delicious. And this comes from a baking SNOB. I am extremely particular about what cookies go in my mouth, but I'm telling you, these are delicious. Feel free to spend all afternoon making your own. But trust me when I tell you, these make the perfect combination with the glaze that I use. And take no time at all.
So why mess with perfection?
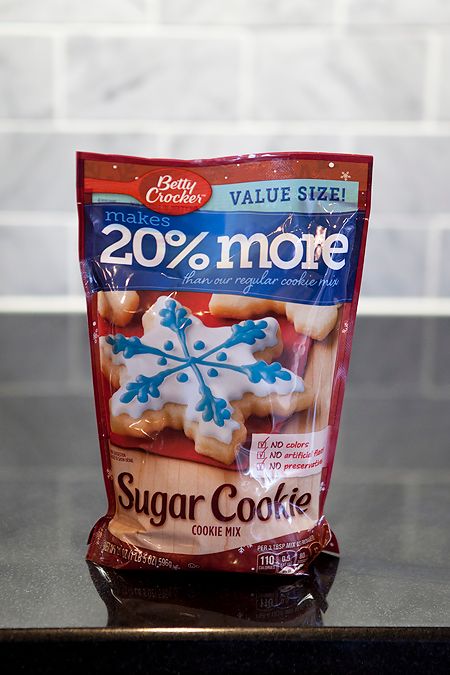
Mix up a bag or two (or six) using the directions for drop cookies on the back of the bag. Roll them into a ball, and bake as directed. They definitely look pretty raw when they come out of the oven, but they firm up nicely. Do not overbake. Let the cookies cool.
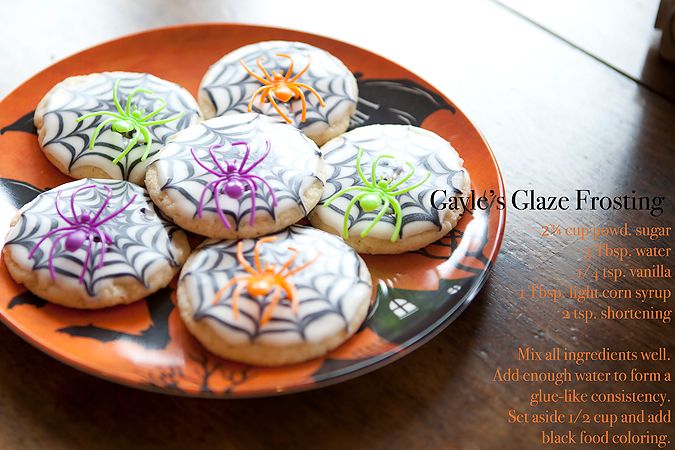
Next, make up the glaze. I got this recipe from my mother, who got it from a dear neighbor (Hi, Gayle!). I've been eating these since childhood and have made them a staple in my own home. It's not Halloween in our house without them.
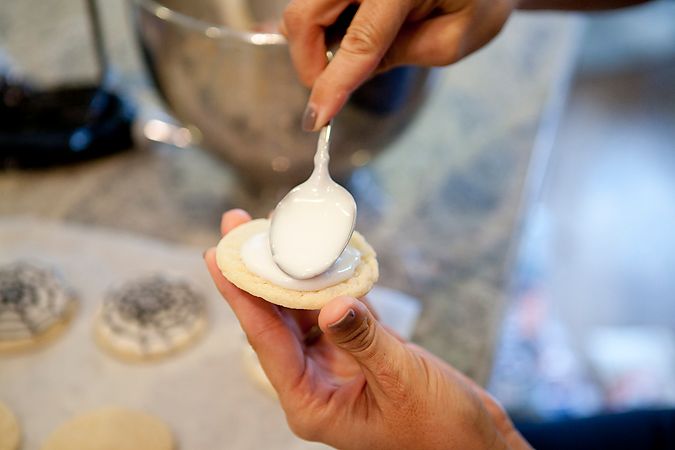
For these cookies, the glaze should be the consistency of Elmer's glue. Add more water or powdered sugar to achieve this. Then using the back of a spoon, spread it onto a cookie. I like using a spoon because the curve helps spread around the edges better than a knife.
Be sure to not apply too much glaze. Just a thin coat is all you need.
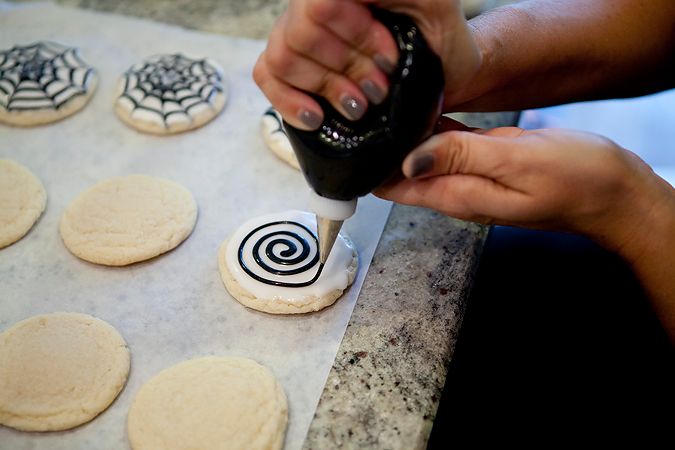
Next, put some of the black glaze into a bag with a small writing tip, and pipe a bullseye, starting in the center of the cookie.
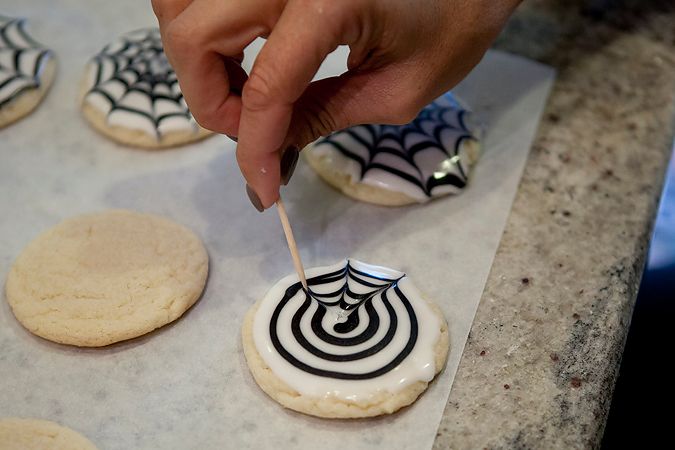
Using a toothpick, gently draw lines from the center of your bullseye to the edge, going all the way around the cookie. Make sure to always go from the center out in order to keep your web lines going all the same direction.
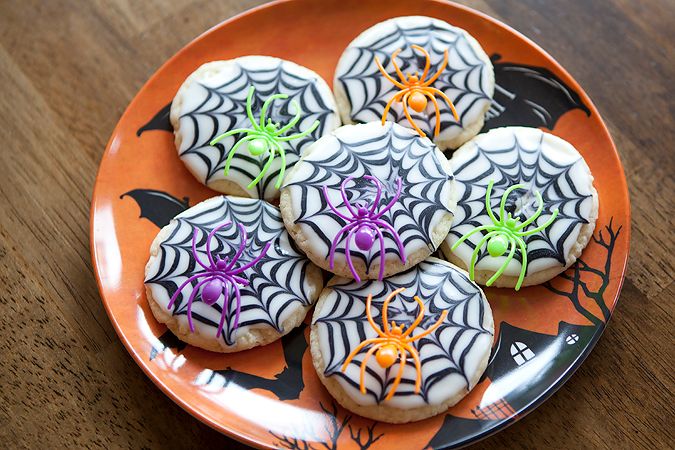
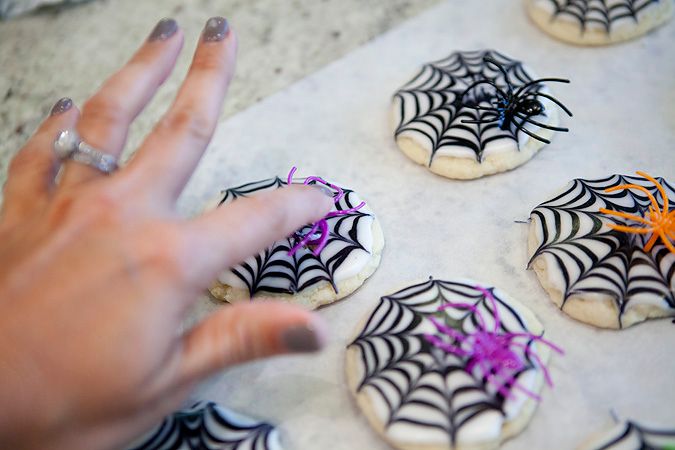
Let the cookies set until the glaze hardens, usually about 30 minutes or so. Top with a plastic spider ring and enjoy!
These are actually the best on the second day, so I try to make them a day ahead of whatever party I am taking them to. Once they are set, they travel and freeze really well.
They also make an excellent lunch. Just sayin'.

