How-To Tuesday: How to make homemade pitas


Today's How-To post comes to you in one of my all-time favorite forms: The Carbohydrate.

Making your own pitas are so simple, you will never buy the cardboard tasting ones at the store ever again. Seriously. Stop buying that crap. They're gross and full of all kinds of preservatives. Spend a half hour or so making these and thank me later.

[I accept all forms of thanks, including, but not limited to: diet coke, cookies, and/or cash.]

Photobucket

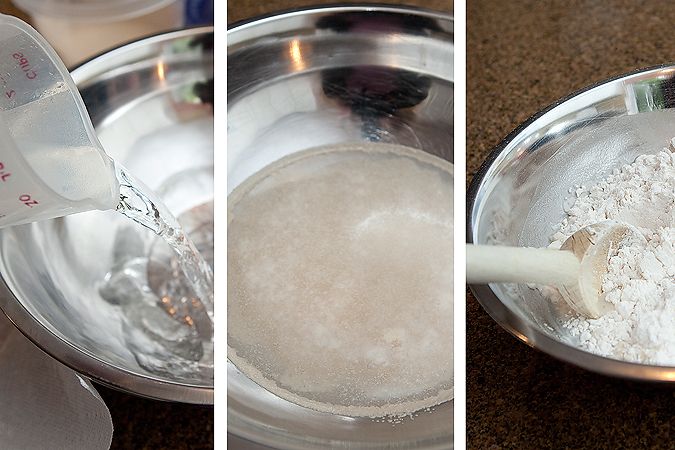
Here's what you do: Take 1 1/4 cup warm water and add 2 1/2 tsp. yeast. Let it sit for about 10 minutes until the yeast is bubbled up.

Then add: 3 cups flour, 1/2 tsp. salt, 1 tsp. sugar, and 1 Tbsp. oil. Mix well.

Photobucket

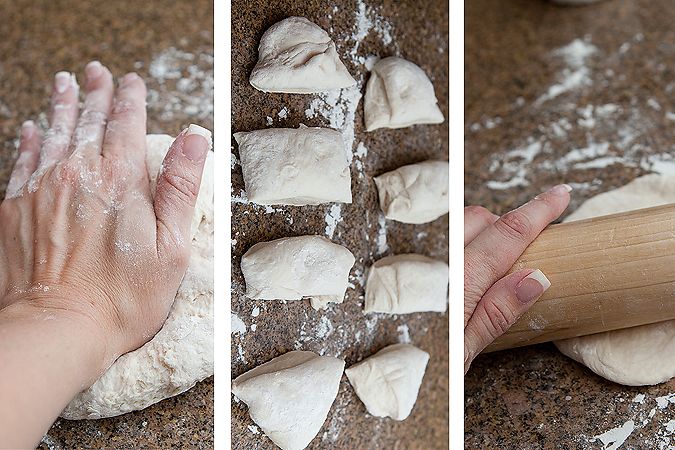
Turn the dough onto the counter and knead well, adding flour as necessary. Divide the dough into eight equal parts. Roll each part into a ball, then flatten into a six-inch circle with your rolling pin.

Photobucket

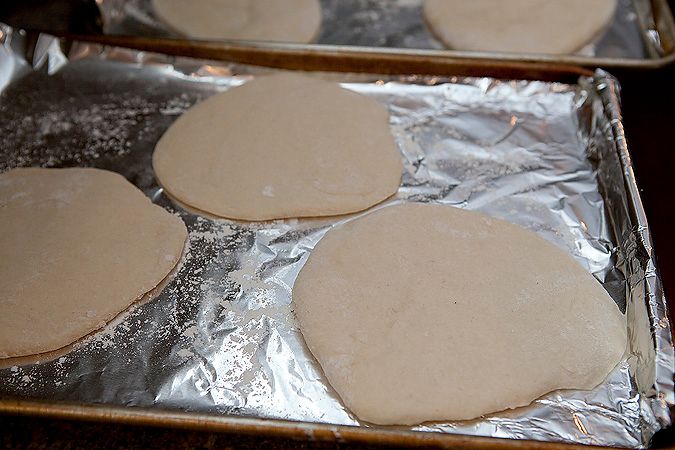
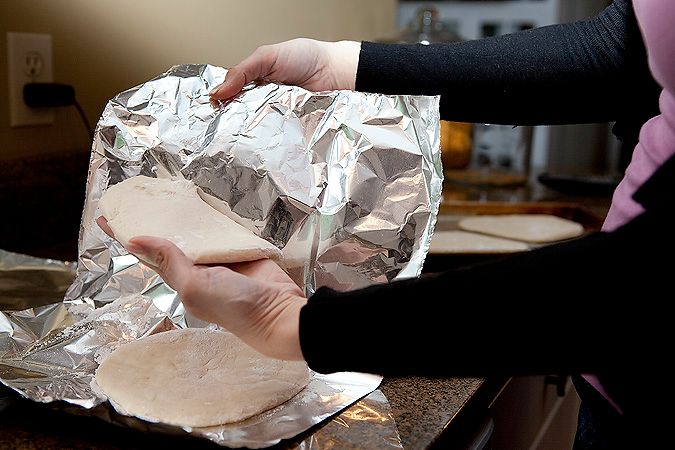
Put circles on heavily-floured foil or parchment paper. Let rest for 30-45 minutes, until dough starts to slightly rise.

Photobucket

Then gently peel off each pita and place onto an ungreased baking sheet. You need to do this step; otherwise, they will stick to your pan as they rise in the oven.

Photobucket

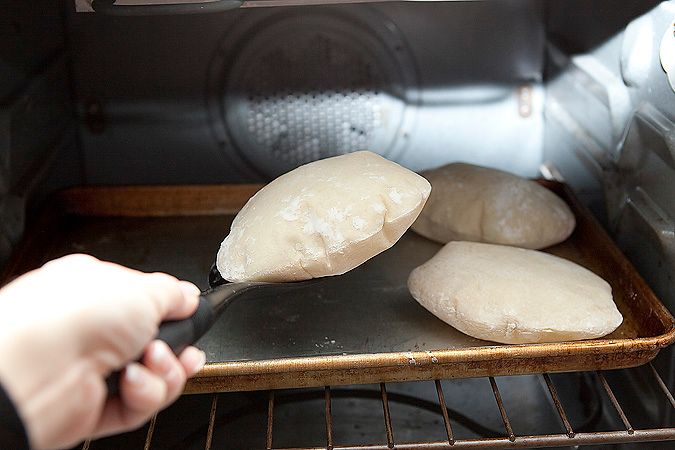
Bake in a pre-heated 500 degree oven for about 3 minutes per side, turning halfway through. The pitas will puff up while baking. This gives you the hollow center for filling with deliciousness later.

Photobucket

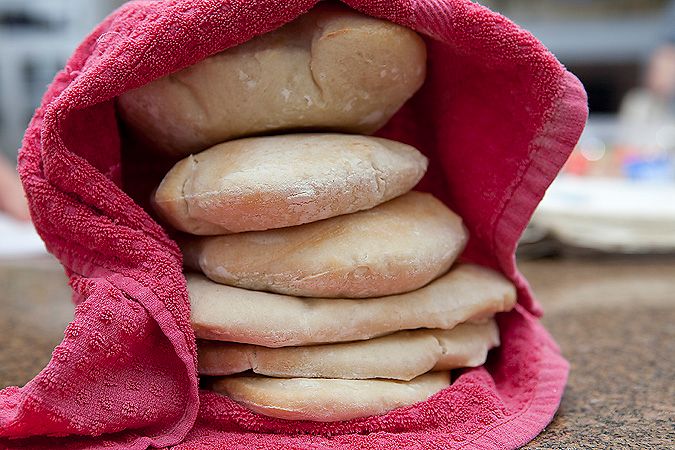
Remove from the oven and stack pitas on top of each other, gently covering them with a towel. Let the pitas rest, and as the steam gradually escapes, each pita flattens out.

Photobucket

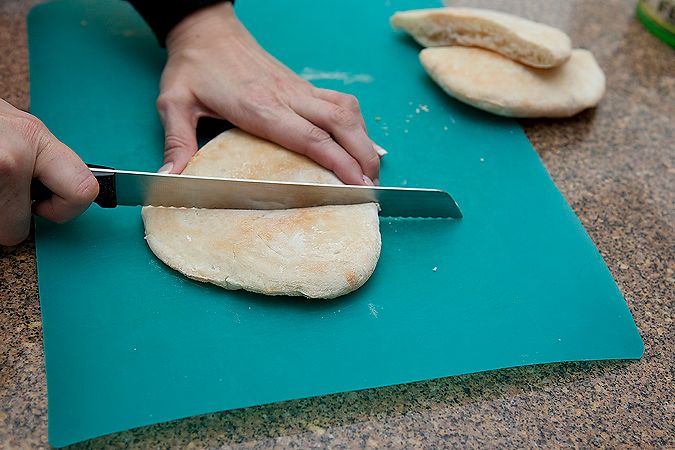
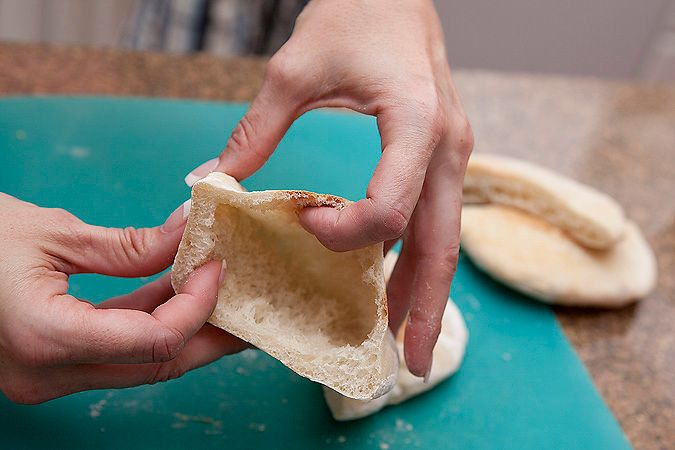
Slice in half with a serrated knife.

Photobucket

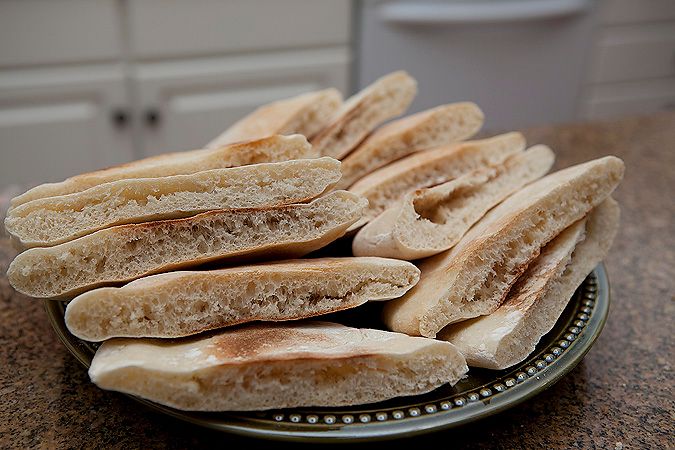
And, voila! A lovely little pocket just waiting to be filled with good things.

Photobucket

These are fantastic right out of the oven, can be made hours ahead, and even freeze well. Look at all the lovelies just waiting to be consumed:

Photobucket

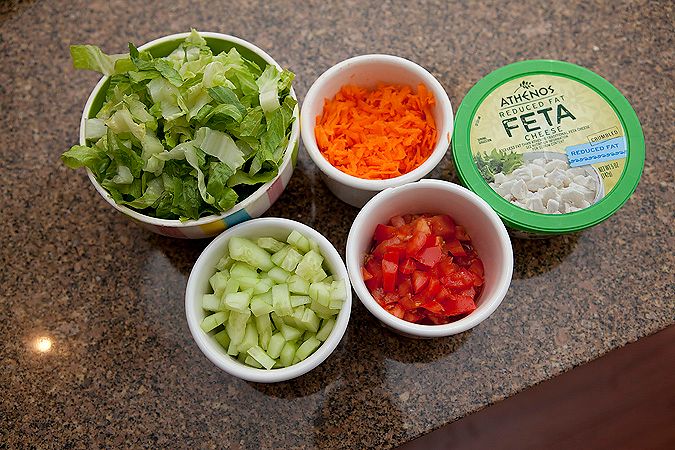
Here are some of our fillings of choice.

[Not pictured: some chicken breast that I sauteed in a little bit of Italian dressing. Drizzle a little dressing onto your filled pita and you have a feast. (Though I am thinking Linsey's homemade hummus would be delish with these bad boys. Note to self: Get to the store ahead of time).]

Photobucket

And for a more printable version:

Pita pockets
1 pkg. yeast
1 1/4 cup warm water
3 cup flour
1/2 tsp salt
1 tsp. sugar
1 Tbsp. oil

Sprinkle yeast over water in large bowl. Let sit for 10 minutes or until yeast is bubbly. Add flour, sugar, salt, and oil. Mix well. Knead dough until soft; divide into 8 equal parts. Roll each part into a ball and flatten into a six-inch circle with a rolling pin. Let rest on floured tin foil for 30-45 minutes or until slightly puffy. Peel off foil and put onto ungreased cookie sheets. Bake at 500 for 4-8 min. flipping halfway through. Stack on top of each other and cover loosely with dish towel to let steam escape. Slice in half and enjoy with your favorite salad or toppings.


And that's it. Your turn.

Teach me. Teach me now, dammit.

Mister Linky's Magical Widgets -- Easy-Linky widget will appear right here!
This preview will disappear when the widget is displayed on your site.
For best results, use HTML mode to edit this section of the post.

How-To Tuesday: How to Make Chicken Noodle Soup


Alternate title: How to make your husband go absolutely weak in the knees.

Photobucket

What's that? Your husband's love language isn't homemade chicken noodle soup?

Well.

Make this, and it will be. I guarantee it. That sofa you've had your eye on? A girlfriend's trip to Paris? Make this soup for him, then casually drop into the conversation what you're wanting, and he will be powerless to resist you.

[Not that I'd know anything about that, ahem.]

This is an ancient family recipe, going back generations. It was a staple in the Husband's childhood home, and has become one in ours. It could not be any easier, and I feel it a sin if you waste your life on soup any less worthy.

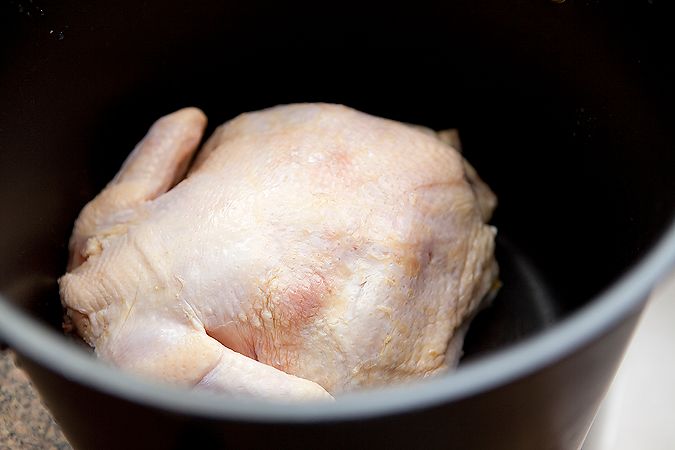
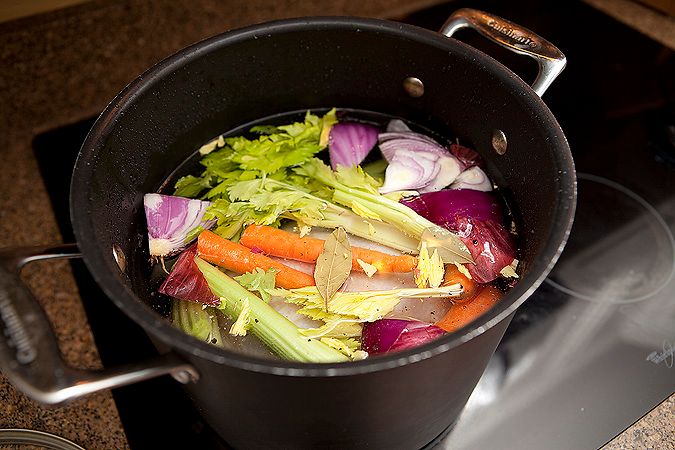
Step one: Take a whole chicken and throw it in a large stock pot. We love to make this with leftover turkey at Thanksgiving the best. Second in line would be the pre-cooked chickens they sell at Sam's Club. But even just a regular, boring, everyday whole chicken will cook up nicely.

Photobucket

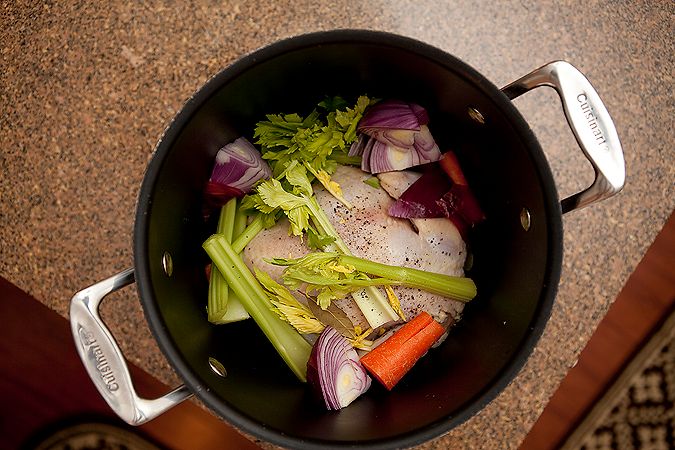
Add: A few whole carrots (unpeeled), a large onion (quartered, and with the skin left on), a few celery stocks (leaves still attached), a bay leaf, and some salt and pepper. I used a red onion here because it's what I had, but red, yellow, or white - any of them will work.

Photobucket

Pour in enough water to cover the chicken by a good inch or two. Then plop it on the stove and bring to a boil, lowering the heat and letting it simmer for a few hours at a soft boil.

Photobucket

During this part of the process, your house will smell divine. Your children will salivate. Text messaged photos sent to your husband's phone will result in meetings being canceled and him walking through the door MUCH earlier than normal. I'm telling you, this soup is like a magnet that pulls your loved ones home.

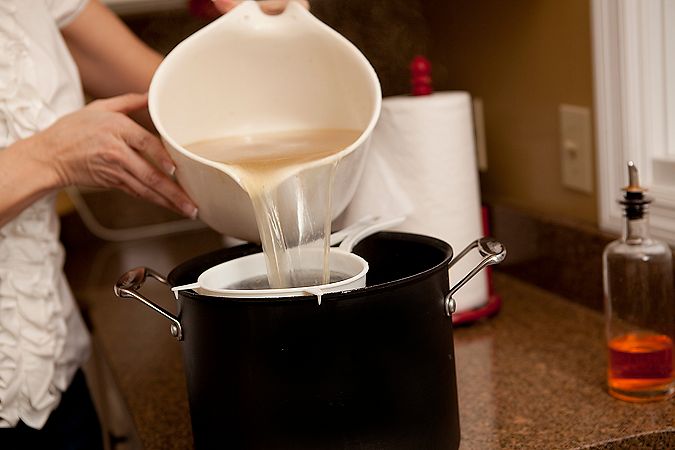
Once it's simmered, boiled, and married all the lovely flavors together, pour everything through a colander to a large bowl. Notice the splash and spillage of broth out the sides? Tragic is what that is.

Photobucket

(It's also wise to do this step in the sink. Unless you like the feel of hot boiling lava on your bare feet.)

I like to then re-strain my broth through a very fine colander or cheese cloth to remove any remnant chicken bits. Your broth will have a lovely yellow color and smell positively delicious. At this point, you could freeze your broth and save it for another day or even another cooking purpose. But since our hearts beat to the drum of chicken noodle soup, that is where we'll be headed.

Photobucket

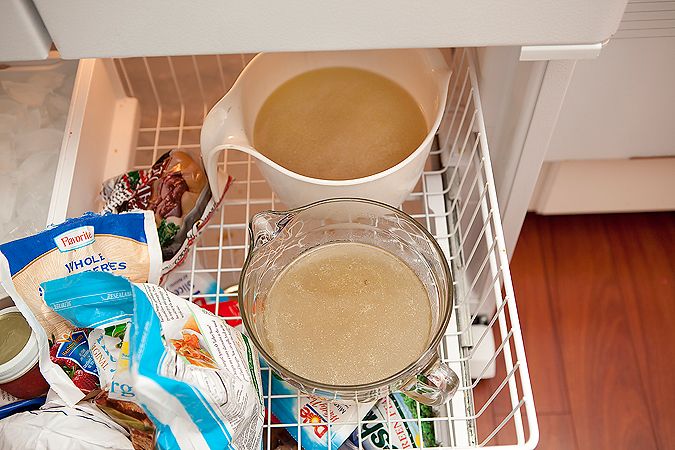
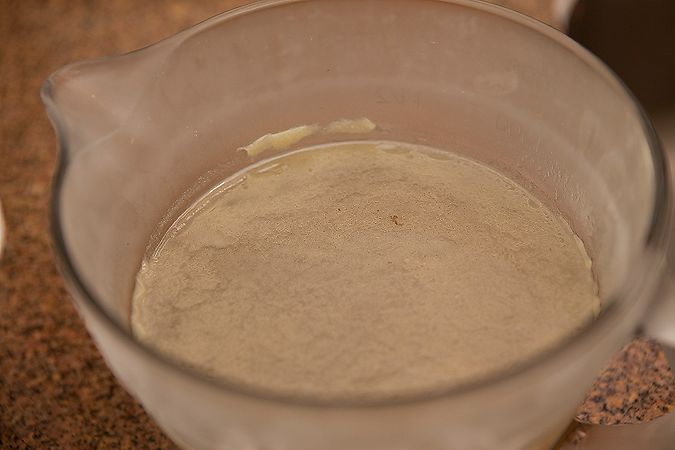
If I can, I make the broth a day ahead and refrigerate it, bringing all that lovely fat to the surface. It makes it so easy to scrape it up and out - keeping your inner thighs free for other fatty treats. But with this batch I was in a hurry, and we wanted to eat right away, so I poured the broth into two containers and froze them both.

Photobucket

Splitting it like this made it so that the broth could cool/freeze faster, resulting in a lovely layer of fat just waiting to be removed.

Photobucket

Pour the now-fatless broth back into your stock pot and put it over medium heat on the stove. By this time, your chicken should be cooled enough to remove all the meat from the carcass. Probably the worst job in this whole process, but a necessary one. Discard the bones and vegetables once all the meat is removed.

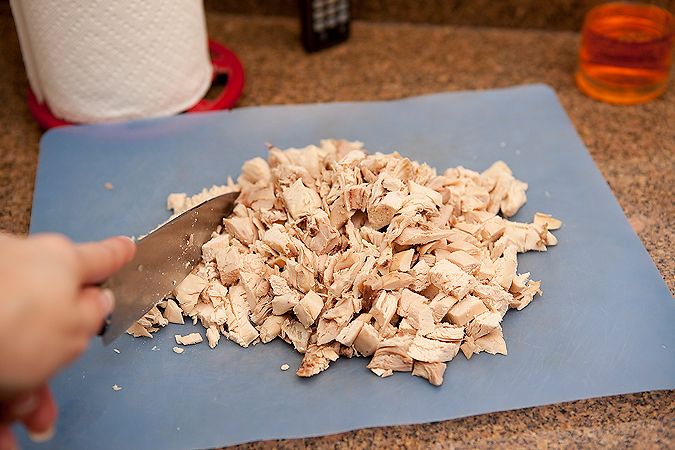
Chop your chicken finely. Add it to your broth on the stove.

Photobucket

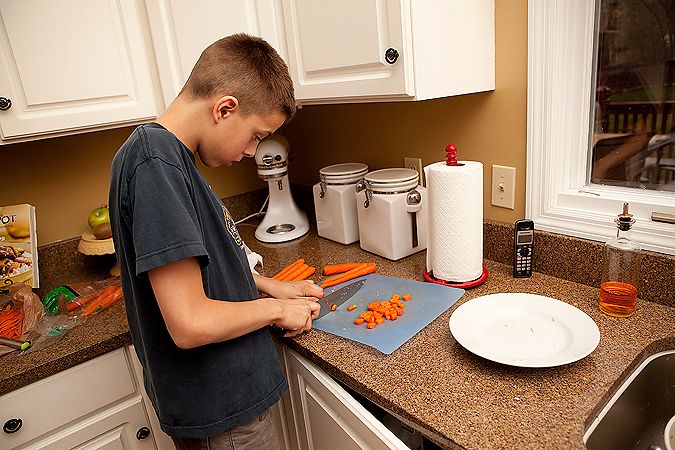
Recruit a minion or two with the promise of knife usage and you will find help abundant in the kitchen. Have the minion peel and chop 5-6 carrots. Or ten if you like. Whatever suits your fancy. Then add them to the pot.

Photobucket

Next comes the step that MUST NOT be skipped. Don't be tempted to throw a few handfuls of rice or (heaven help you) store-bought noodles. The whole point of this soup is the homemade noodles.

Take:
1 cup flour
1/2 tsp. salt
1 egg. beaten
1/2 egg shell full of milk or cream

Mix all ingredients together, adding more flour or milk to make a pliable dough. Also? We typically double or triple this for a big batch of soup.

What can I say? Girlfriend likes herself some noodles. So do her peeps.

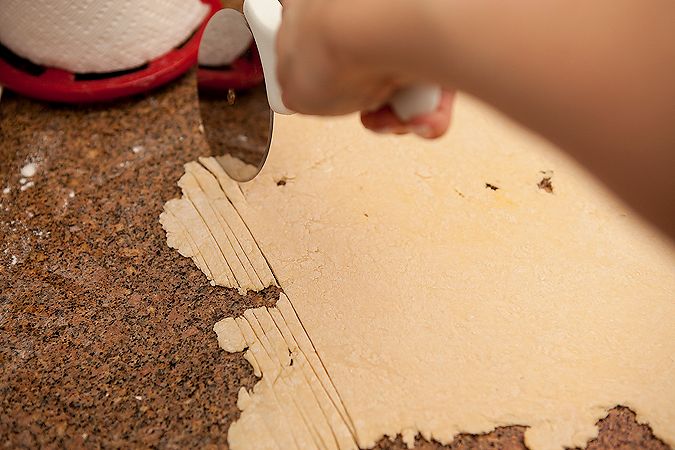
With a rolling pin, roll the dough flat and slice it into strips with a knife or pizza cutter. Don't be worried about getting them all even and perfect. Homemade noodles should be of every height, width, size, and breadth.

Just like people.

Photobucket

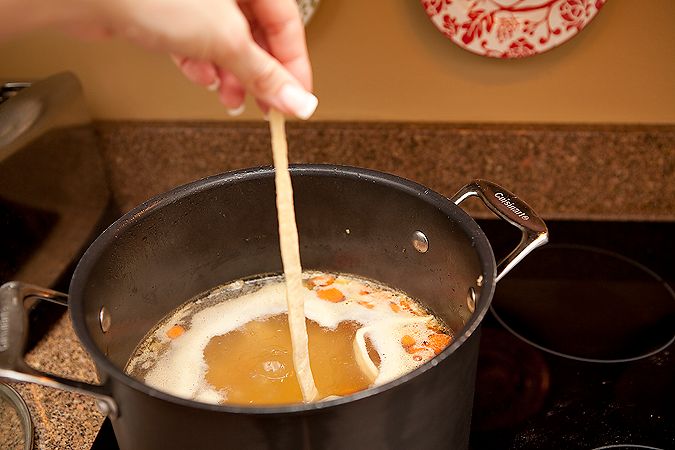
When your broth is at a medium boil, drop your noodles in, one at a time. Simmer for 15-20 minutes.

Photobucket

Then, ladle up a big bowl. If you are really awesome, serve some warm bread and butter on the side. Then sit back and watch your husband's face carefully. With the first bite, and its earthy, homemade goodness, you will see precisely just how much he loves you. He will be unable to hide it. You will be delighted.

Photobucket

Now it's your turn. What can you teach us today? Leave the link to your own how-to post in our Mr. Linky below. Then be sure to copy the html code (under the blue button on my sidebar) into your post. Sit back, and wait for the internet to bow at the throne that is your genius.

I'm waiting. Anyone?

Oh well. Next time.

Mister Linky's Magical Widgets -- Easy-Linky widget will appear right here!
This preview will disappear when the widget is displayed on your site.
For best results, use HTML mode to edit this section of the post.