How to make a gallery wall just like mine

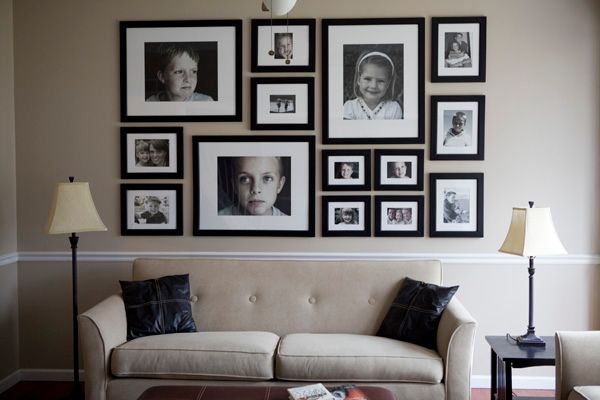
Way back in 2008, I posted a photo of what was then my favorite room in our house.  Lovingly crafted with the Husband's math skills, the photo gallery wall was a centerpiece of conversation in our home.  The soft sunlight in the late afternoon made that room a very cozy spot to curl up with a good book and ignore the children.  

Hours of my life were spent doing exactly that.

I mean, really.  Who wouldn't want to curl up in this room? 

 photo IMG_0026BP.jpg

With the invention of the Pinterest, I have received countless emails about the photo wall.  What are the dimensions?  How big are the photos?  Where did I get the frames?  Would I have an affair with a clown while eating a sandwich?

Okay, maybe not that last one.  I made that part up. 

But it could happen!  (Except not with a clown.  And probably not while eating a sandwich.  A cookie...maybe.)

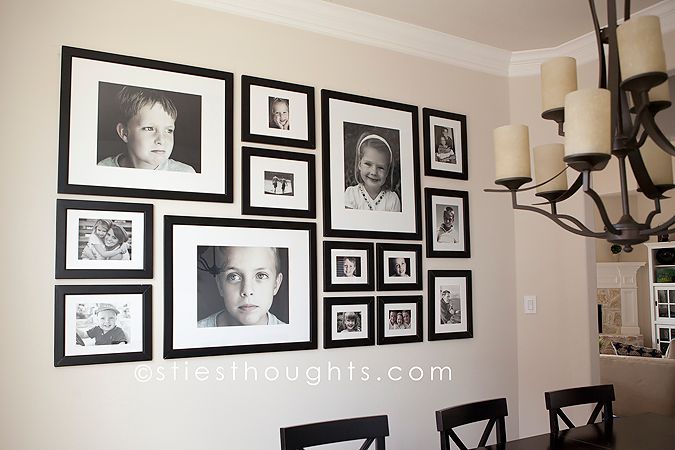
Recently, with our move to Texas, the wall had to find a new home.  In our new home.  With wall space being at a minimum here, we were pretty limited in where we could hang it.  We settled on the big wall in our dining room.  I bribed and cajoled the Husband, and voila!  The wall was once again in my life. 

 photo gallery1_zpsdf2bab7f.jpg

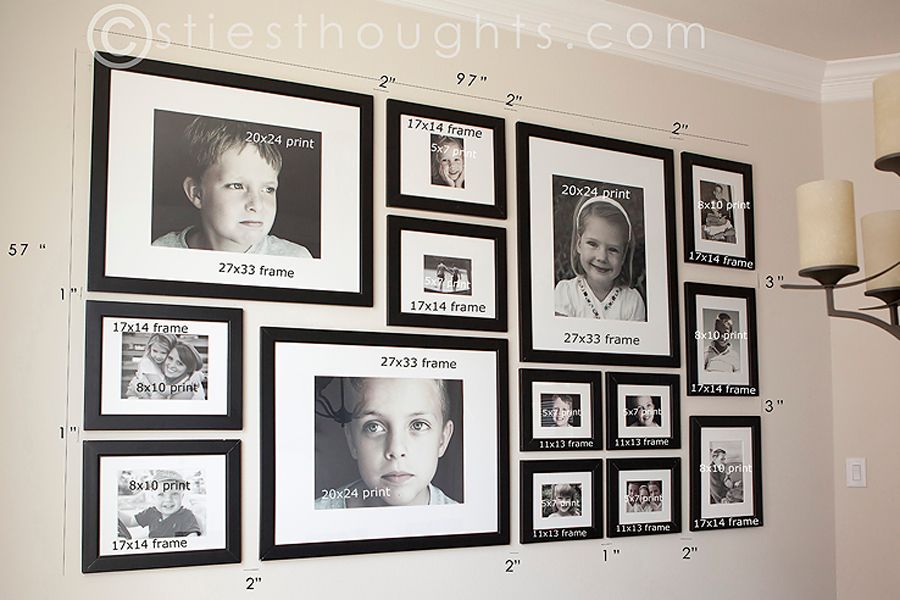
Since I got an email from someone just this week (hi, Julie!) asking about the dimensions, and I happen to have them all written down as part of the aforementioned hanging, I figured a post was in order to preserve the information for future Pinteresters.

So, here it is.  The dimensions from my favorite wall of all time.   

 photo gallery4_zps4901f773.jpg

Oh, and we got all the frames at Michaels.  They are all the same frame, and it took four weeks and visits to three stores to acquire enough, as, inconveniently, they didn't carry them online.

You're welcome. 

DIY Bulletin Board

Photobucket

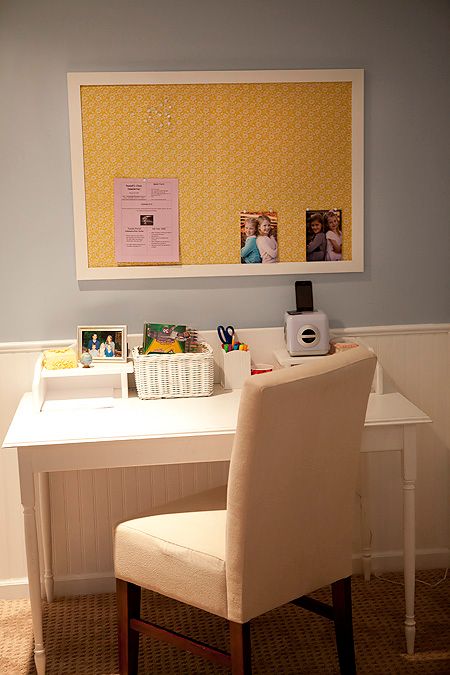
Want to learn how to make this cute bulletin board in just a few easy steps, one which does not require a can of spray paint and costs less than $20?

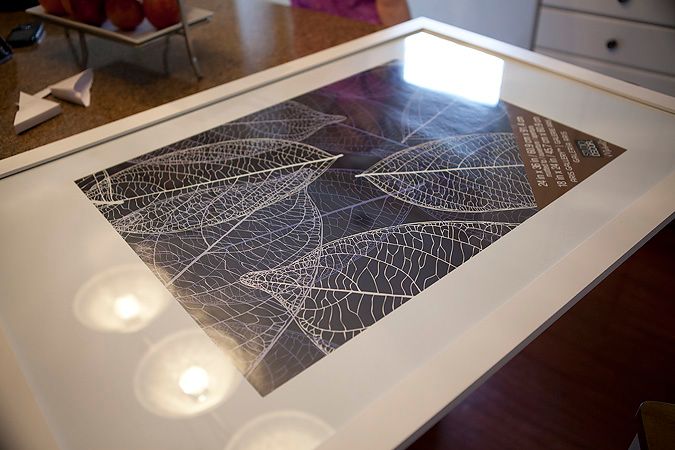
Step one: Buy a really ugly large print on clearance at Michael's or some other craft mecca. This one is 24x36. Large. And freakishly ugly. Unless black and white abstract leaves are your thing. In that case, never mind. You go back to enjoying your colorless, boring life full of leaves. And I'll try to stop judging you.

Photobucket

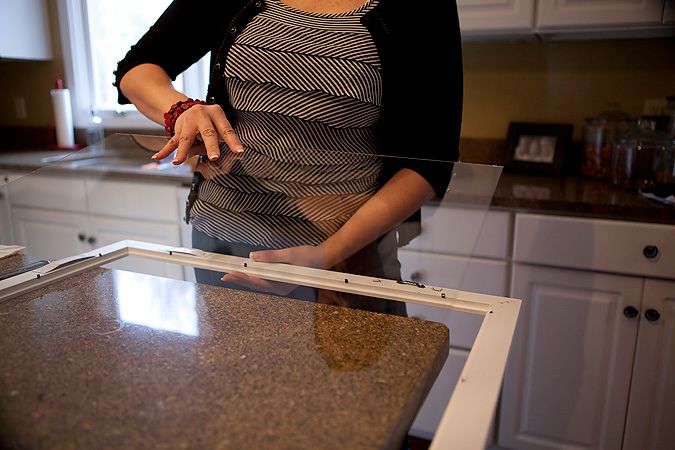
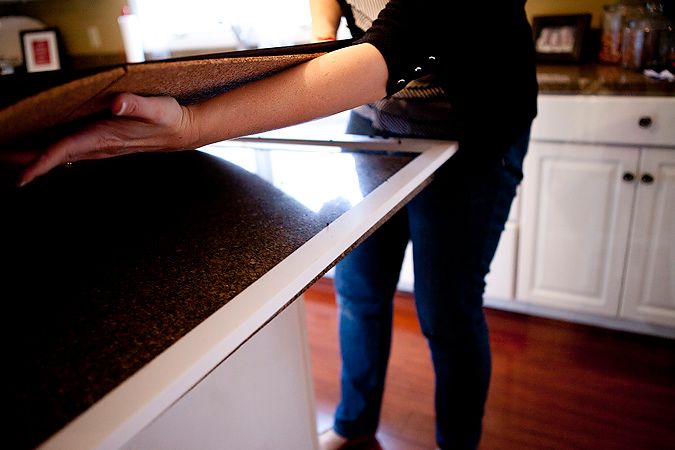
Step two: Remove the offensive, abstract leaf artwork, the accompanying mat, and, ever so carefully, the glass. Discard all of these items.

Photobucket

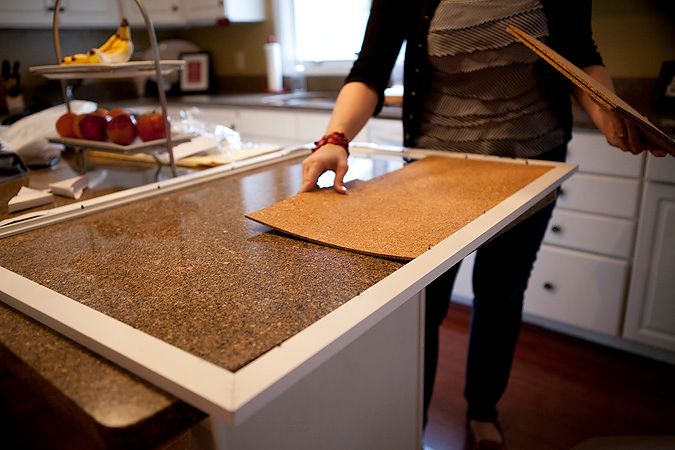
Step three: Insert 12x12 squares of cork board, also purchased at craft mecca. My print was a multiple of 12, so my squares fit evenly without having to cut any of the cork squares. If your frame is odd sized, just cut the cork to fit.

Photobucket

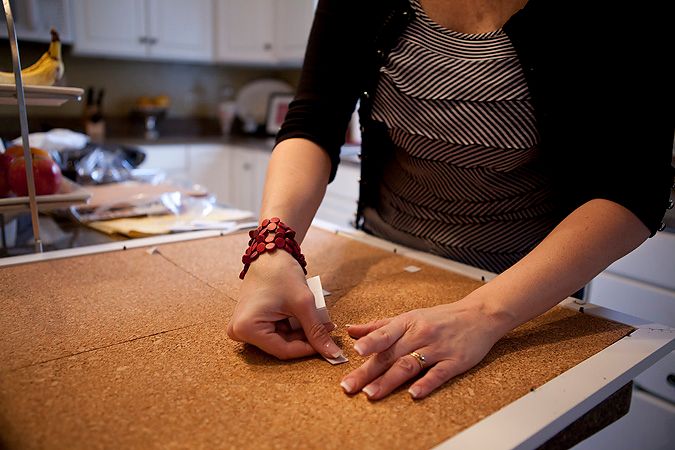
Step four: Using the double-sided tape tabs that come with the cork, secure all of the cork pieces to each other on the edge.

Photobucket

Step five: Using the thick backing that came with the print, flip over the newly joined cork squares. Lay fabric of your choice on a flat surface, and flip cork and backing over the top, with the cork facing down.

Photobucket

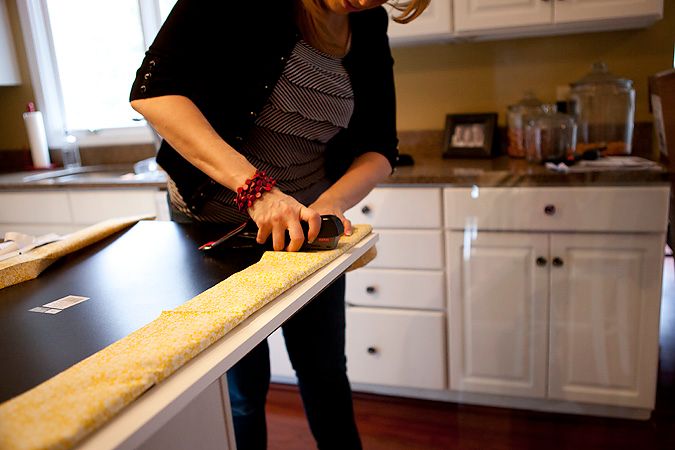
Step six: Pull tightly and staple edges of fabric to thick backing. I used a regular stapler because I'm lazy klassy like that. You could use a more advanced stapler, but mine worked just fine.

Photobucket

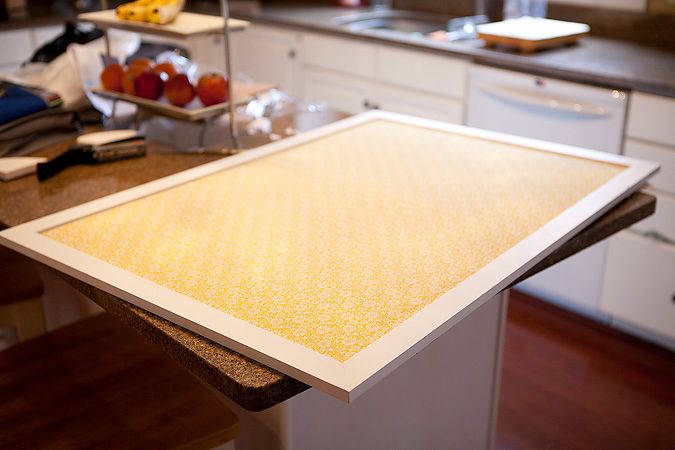
Step seven: Cut off excess fabric, and put inside your frame.

Photobucket

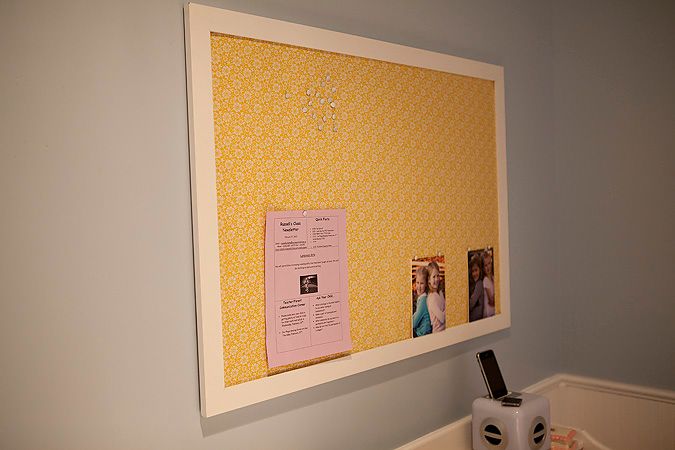
Step eight: Hang the bulletin board on your daughter's wall, and feel like an extreme crafter. Refuse to succumb to your husband's taunts about your lack of proper staple usage. Know deep down that your improper usage is what makes you awesome and distinguishes you from other DIYers and their fancy equipment.

Photobucket

Step nine: Stand back to admire your handiwork. Reward yourself with some chocolate and a diet coke.

Photobucket


Any questions?

Hello Newman...

Remember the old Seinfeld episode with the Bubble Boy?

I kind of feel like I am living it. Only without Jerry, Elaine, and their utter hilarity.

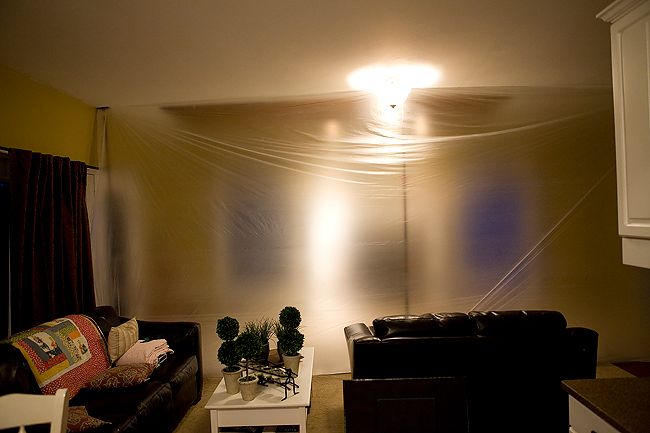
Internets, I am the Bubble Boy.

And it's way less fun than it looked on TV:

Photobucket

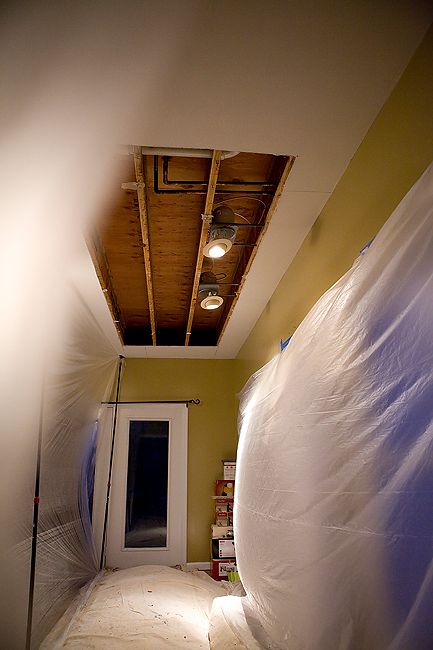
The reason for the large bubble is because of the giant hole currently in my family room ceiling.

Photobucket

Never fear - it's all for a good cause. (Otherwise, I'm not sure I could stand the dust.)

We are at the early stages of a massive remodel upstairs. When we bought this home four-and-a-half years ago (has it really been that long? WOW.) it had four bedrooms, a guest bedroom and bath in the basement, and two offices. We quickly converted one of those offices into a bigger family room in the basement.

And by quickly, I mean, the Husband took a sledge hammer and knocked the wall down just minutes after we closed on the house.

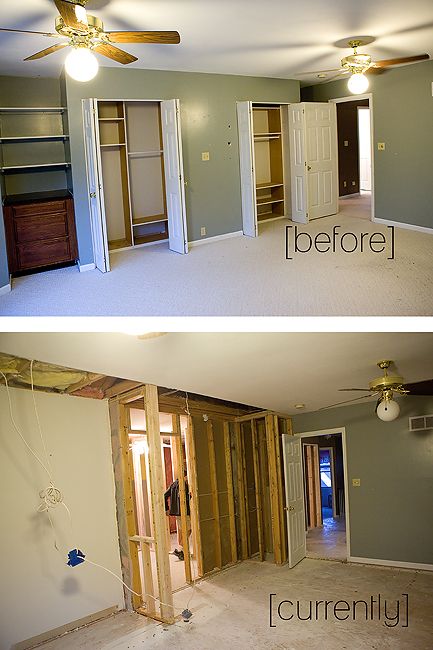
We have plenty of room for our family and then some. The bedroom upstairs that we put our boys in also happens to be huge. It's literally as big as the master bedroom. Way too much space for just one kid.
We are of the mindset that if the two boys share a room, ensuring very little privacy, one or more of those boys are less likely to get into any trouble in said room, always fearing that the other could walk in at any moment. It's our hope anyway. So, much to McKay's chagrin, we make them share.

It's worked well for us, doubly so because of the size of their bedroom. This photo doesn't do it justice, as I didn't have a wide enough lens. It's ginormous.

Photobucket

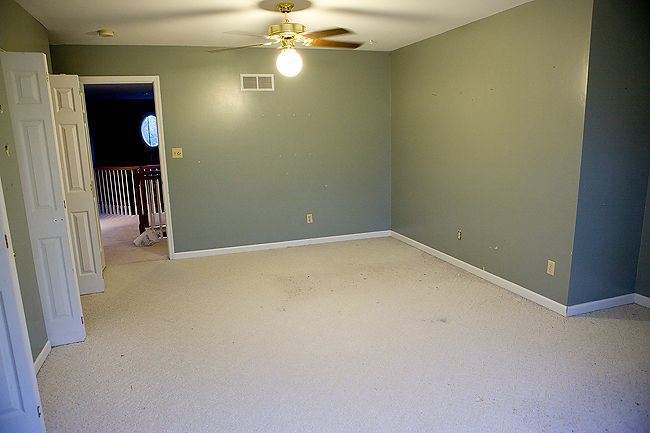
BUT, this has left us with a spare bedroom that has really only been used once -- and that was at Thanksgiving last year when we had three families visiting. It collects dust and, quite frankly, is just one more place for me to vacuum.

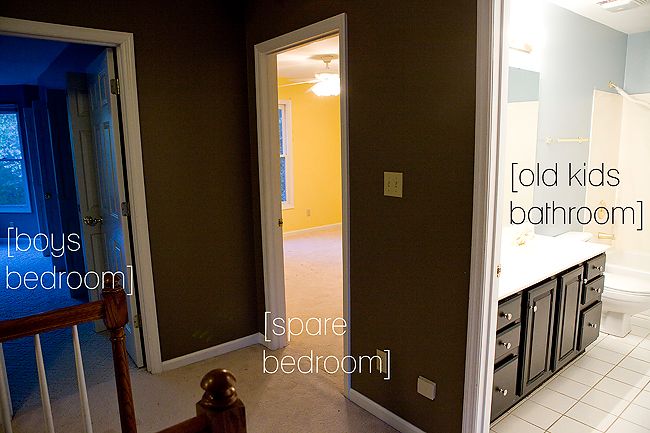
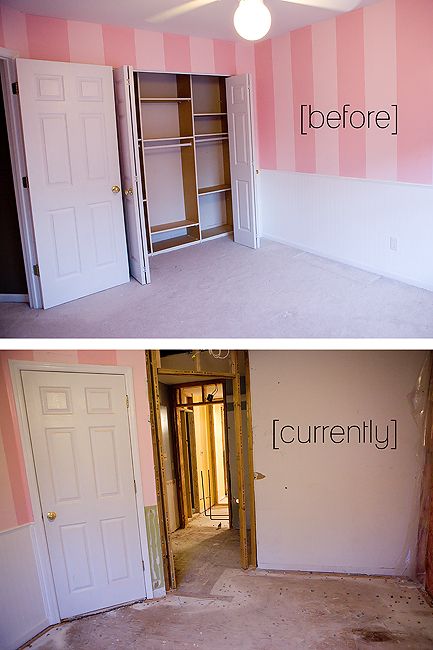
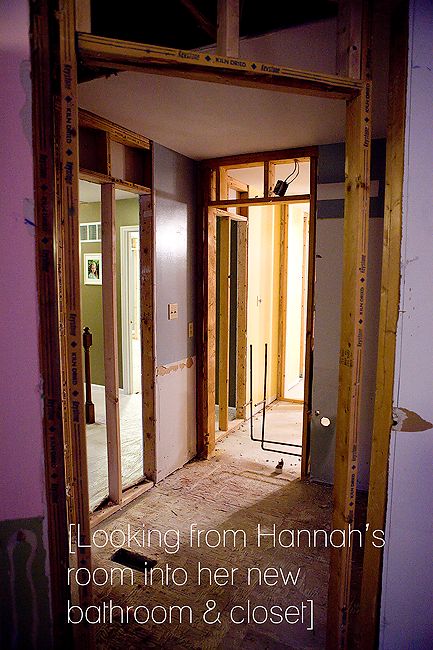
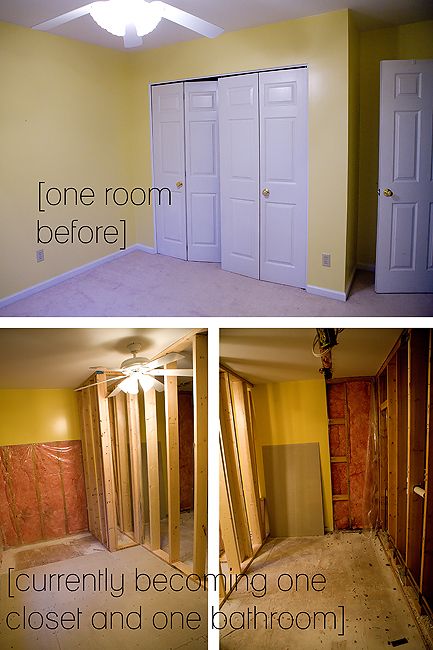
With the help of a (very boring and slightly expensive) architect, we drew up plans to make use of that fourth bedroom. We decided to convert half of it into a bathroom for the boys, and the other half into a walk-in closet for Hannah. The current kids bathroom will become Hannah's and will all connect via her bedroom. And the boys' bathroom will now only be accessible through their bedroom.

Eliminating that mad dash in a towel that my children seem to be so fond of.

It's been pretty okay so far - though I say that rather delicately, seeing as how we are only on day two. But our contractor really is fantastic - he has had a crew here from sunup to sundown each day, working like mad. I am extremely impressed thus far. He seems much sharper than our deck guy from last summer. (Did I ever tell you those stories? Remind me. There are some doozies.)
Anyway, take a peek. And enjoy one last look at the classy brass fixtures and faucets. BUH-BYE.

Photobucket

Hannah's room:

Photobucket


Photobucket

The boys' room:

Photobucket

The spare bedroom/new bathroom/new closet:

Photobucket

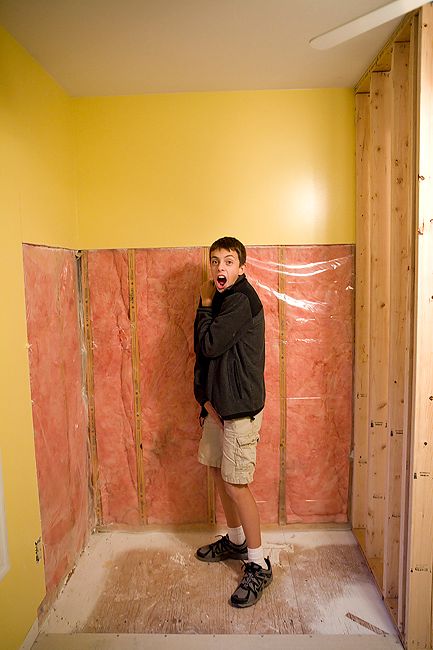
Chase practicing getting caught unawares in his new shower:

Photobucket

And my favorite moment was the look on Hannah's face when she stepped inside her new closet for the first time. She, clearly, is not at all excited:
Photobucket

I am thrilled, but completely jealous. Her closet might be bigger than mine now.
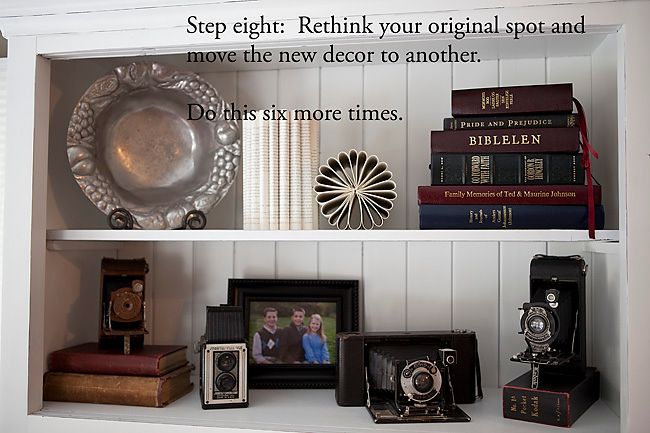
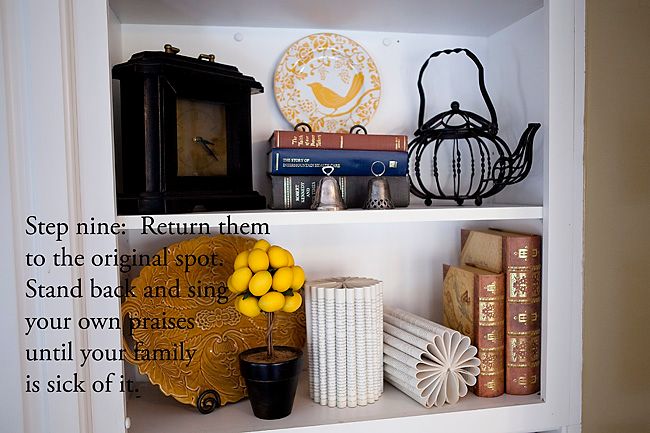
My new favorite thing: Book flowers

While browsing one of my favorite furniture stores this weekend, I stumbled upon something so lovely and adorable that I instantly tried to purchase one or twelve. Tragically, they were not for sale, and I was told they were merely decorations.

(Why? Why put something on the showroom floor that you have no intention of selling? Mental.)

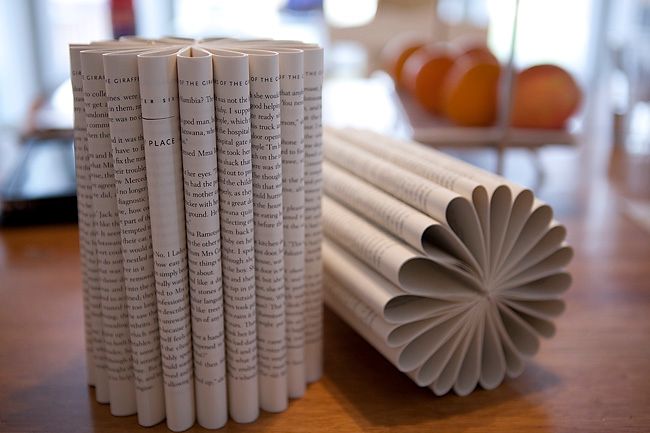
Behold the lovely, adorable, and not-for-sale book flowers:

Photobucket

No, I didn't steal them (though I was sorely tempted). I studied one for so long that the sales woman finally took pity on me and told me how to make one of my very own.

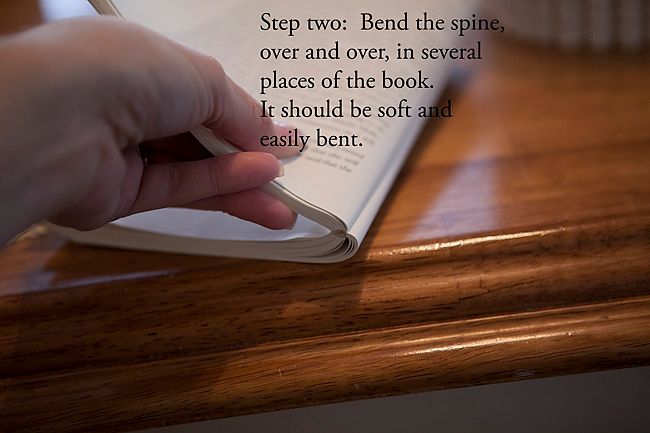
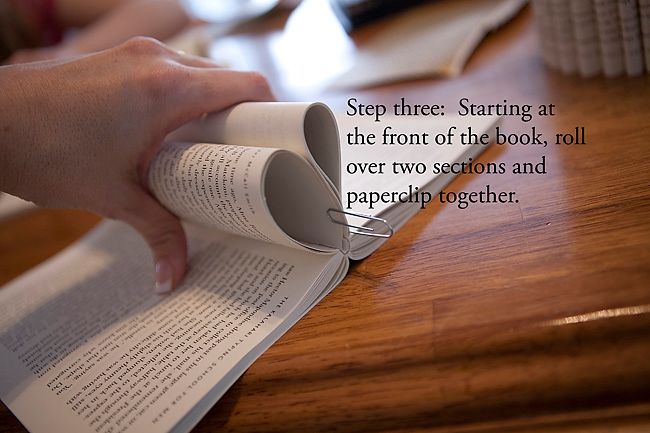
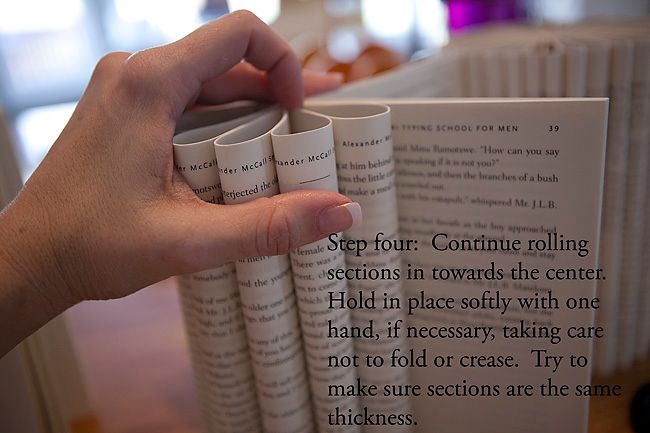
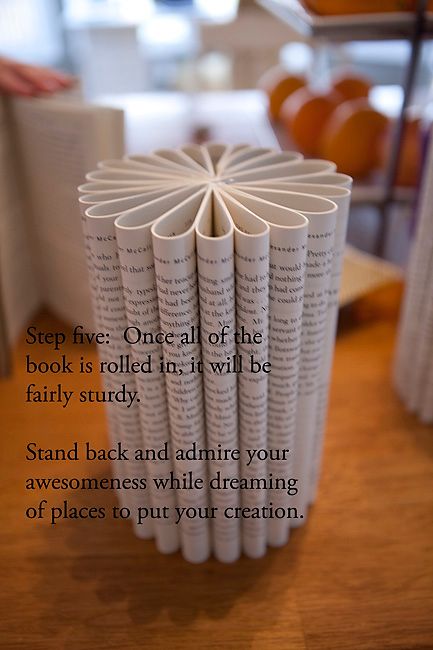
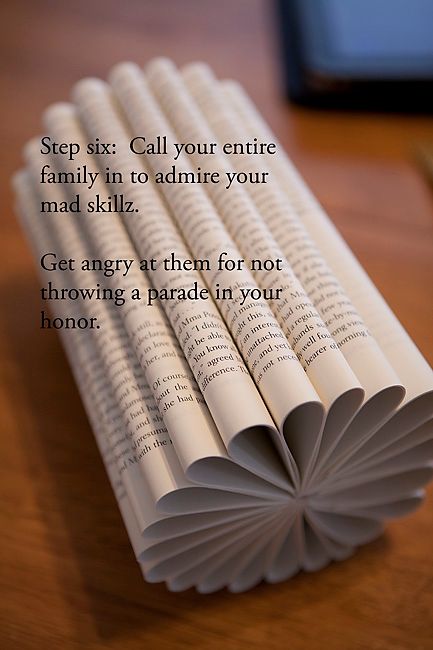
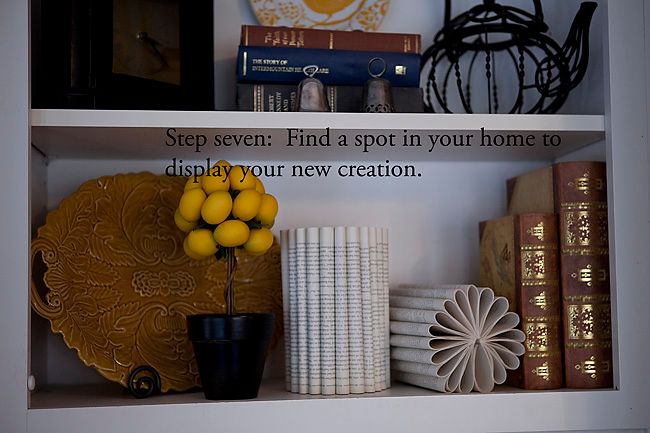
And because I love you, I am going to show you, too -- in nine easy steps (or five if you're less indecisive and crazy than me).

Photobucket

[Had I been in less of a hurry, I would have gone to the thrift store and bought a really old, yellowed book. I think it would look even better antiqued. And how cool to be made from a book that I love, like something Austin perhaps? But alas, impatience is my middle name.]

Photobucket


Photobucket


Photobucket

[Also, make sure and roll them all in the same direction.]

Photobucket


Photobucket


Photobucket


Photobucket


Photobucket

Pretty cool, eh? Took me all of 15 minutes to do one book. Do not be surprised if my entire house is filled with them by, oh, tomorrow.

Happy crafting. Send me any links or snapshots of your own book flowers. It'll be like a decorating party!

Home sweet home

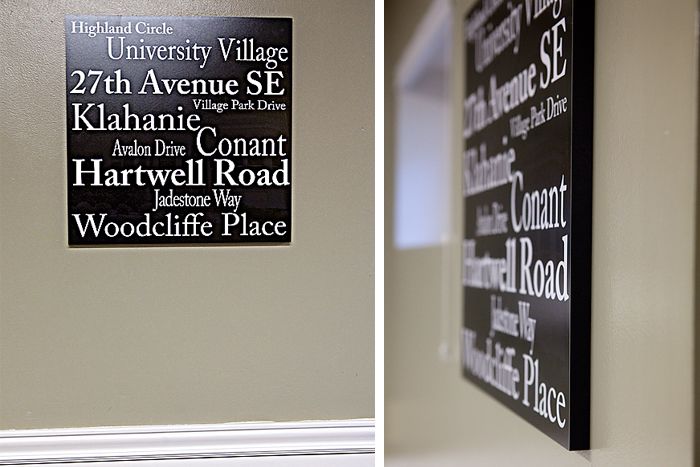
When I saw this post over at the Nester, I knew I had to have one of my very own.

Only, I didn't want to pay big bucks for something I could create myself.

Because I'm crazy and controlling frugal and independent like that.

And since we've moved more times than most people in our 17 years together, this was the perfect accessory for our home. It took some time finding the old street names, but was a nostalgic walk down memory lane in the process.

Oh, the stories each street could tell you about me.

[Yeah. Me and my wild self. NOT.]

Photobucket

I mixed them all up order-wise and the kids had fun trying to assign each street name to its matching city and state.

I also put a photo of our current home behind the text and reduced the opacity, but it doesn't show up very well in the photos. I had the print mounted on a 3/4" standout with black edging, knowing that I wasn't going to put it in a frame. I wanted to hang the print in the basement, and that is a glass-free zone, so it works well as-is. Plus, I like the simplicity of the print all by itself.

I'm pretty happy with how it turned out.

And it seals the deal: We can't ever move again.

There's no room on there for any more street names.

Inviting you into our bedroom

As I've mentioned countless times before, the Husband's job has [sadly] put him on a first-name basis with the security people at the airport. We get personalized Christmas cards from the hotels he frequents. He's gone. A LOT. And even when he's working at the office in-town, he has very long hours.

Needless to say, his life contains a lot of stress.

Fortunately for me, he unwinds in a very productive manner, which I find I am highly encouraging of.

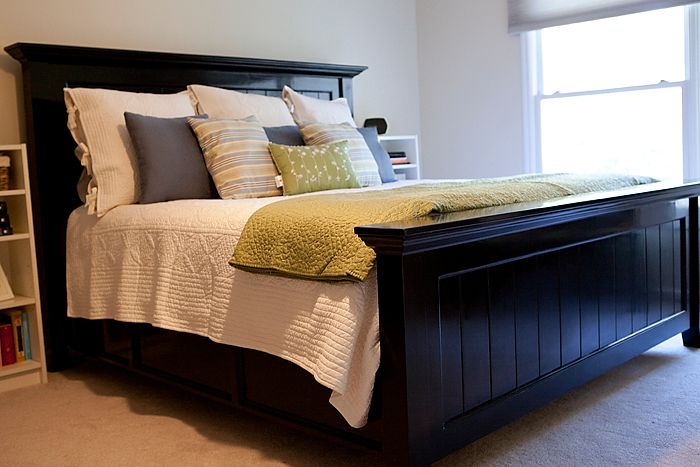
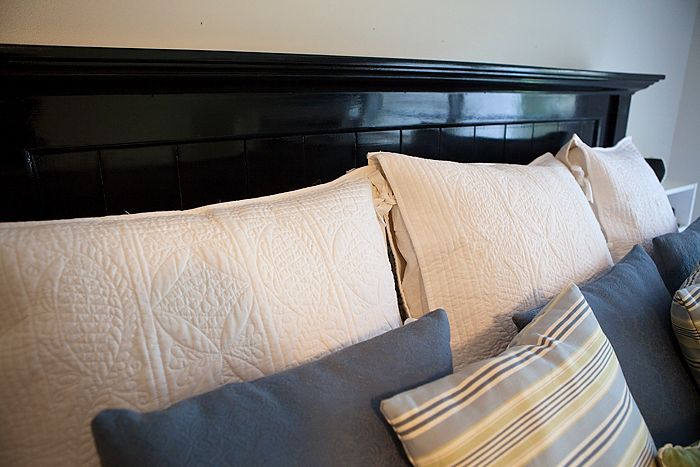
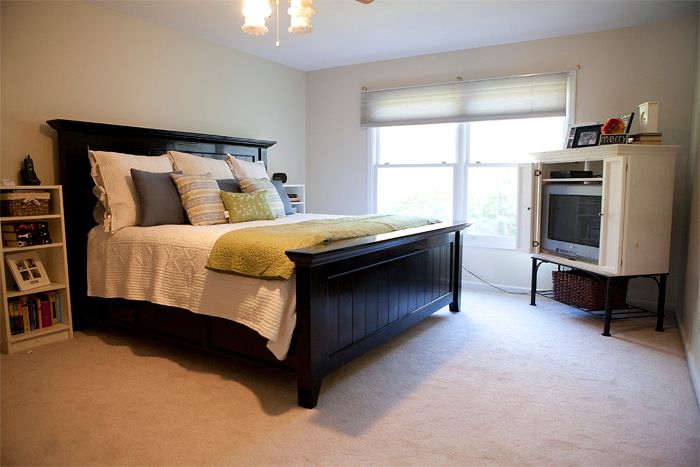
Internet, meet my new king-sized big girl bed:

Photobucket

Yes, the Husband made that bed. All for me (and I guess for him, too). Let me repeat that: HE MADE THE BED. Made it. Like a mountain man. Or the Amish.

[He does have that secret dream to go off the grid.]

I found a bed that I liked online, showed him the picture, and he drew up plans and worked on it during the weekends.

I could not be more thrilled. We had been sleeping on a ghetto bed since before Chase was born, and it is so nice to finally have a pretty, grown-up bed.

Bedding is the Hanna quilt from Pottery Barn, and is oh, so lovely. Look at that stitching. I just love it:

Photobucket

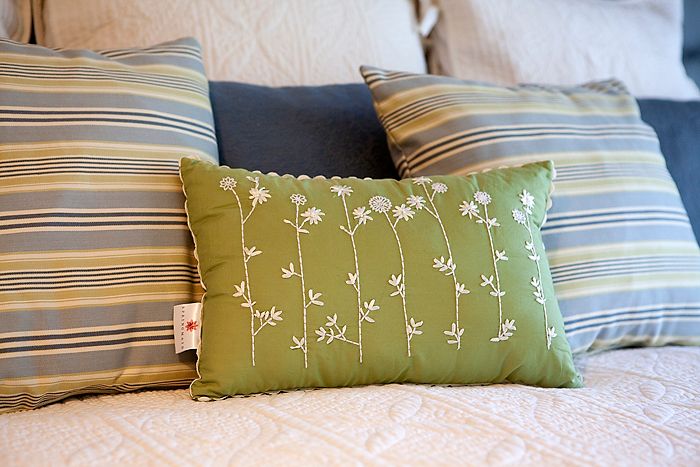
Pillows are a mash: Some from Target, some sewn together by yours truly with fabric from Joann's:

Photobucket

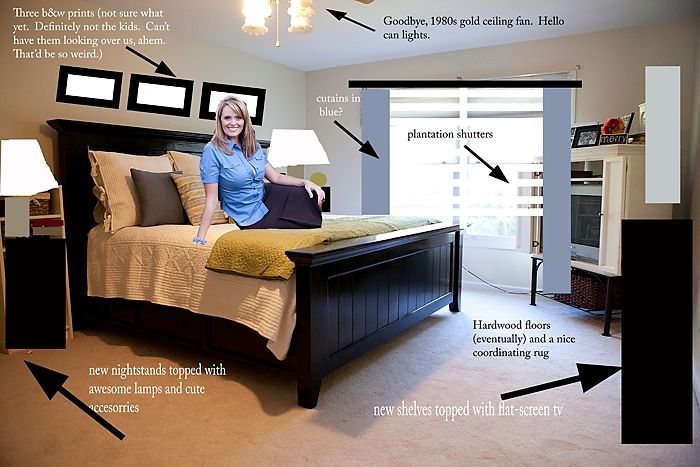
The Husband has also made me a set of nightstands (which he's not finished staining yet) and he's currently working on a large set of shelves for books/knick knacks that will double as a TV stand.

Here is a picture of the master plan to give you an idea:

[Before]

Photobucket

After:

Photobucket

(Do you like how I put myself in there? Hopefully, I will have two hands, legs, and most of my bottom when I'm sitting on the bed in real life. Though losing the bottom wouldn't exactly break my heart.)

What do you think?

I'm pretty excited about it all.

Thanks, baby. You are the best.